I have doodled in the margins of stock-check sheets in a Fremantle school science lab for longer than I care to admit, and I still would not call myself good at drawing. Here is what years of little marks have taught me: doodling is not drawing in the way school taught it. Doodle art grows from loose lines and a willingness to let shapes wobble, and it is a freeing way to create something without rules. It builds creative confidence one small sketch at a time.
In this blog post I will show you the gear I use, how to warm up with basic shapes, and how to draw easy doodles like a cute ice cream cone, a potted plant and a coffee cup. If you have ever typed doodles how to draw into a search bar and ended up buried in videos, this is for you. My core claim is simple: everything you will ever doodle breaks down into five marks, a circle, a square, a triangle, a line and a dot. The “I can’t draw” feeling fades the moment you stop copying real life and start stacking shapes. Grab whatever pen is on your desk and let us get into it.
“But I Can’t Draw”: Why Doodling Feels Different
I grew up convinced I could not draw. My art assignments came back with polite comments. Yet every stock-check sheet I handed in had tiny stars, test tubes and wonky ice creams running along the margins. I never thought of those as drawing. They were just something my hand did while I waited on a timer at the lab bench.
Most people who say they cannot draw mean they cannot copy what they see, where the mug must look like that exact mug. A doodle only has to be recognisable enough to make you smile. Stick people, smiley faces, wobbly circles and rough triangles all count as doodles, and anyone with a pen and a scrap of paper can draw them. If you want a plain definition first, read my piece on what doodling actually is.
One more thing worth knowing: doodling is said to reduce stress and sharpen focus, and it can unlock creativity and bring up new ideas. I noticed it during long afternoons waiting on chemical deliveries. Doodling while on hold with a supplier kept me calmer, and oddly more attentive, than staring at the wall. If you want to know more about why we doodle in the first place, try a beginner’s look at doodling.
Essential Doodling Supplies (And What I Actually Use)
My kit fits in one pouch I toss into my work bag. Here is what is inside:
-
A cheap notebook or loose printer paper. Anything over 80 gsm stops ink bleeding through.
-
One black fineliner, usually 0.5 mm. Fine tips tempt perfectionism; a medium tip lets you draw quickly.
-
A plain ballpoint for days I forget the fineliner.
-
A pencil and a basic eraser, though I reach for these less than you might expect.
A pen and paper are genuinely all you need to start drawing. Micron pens come in various sizes if you want a step up, and Le Pen Drawing pens are great for doodling because the ink flows smoothly without skipping. For colouring larger areas, Le Plume Permanent markers stay put under other lines. White Gelly Roll pens add highlights to doodles, and I use mine for tiny dots on eyes and shiny surfaces. People who read this blog always ask about pens, so there you have it.
My honest tip for beginners: skip the pencil at first. A pencil tempts you to erase, and erasing is the opposite of doodling. Ink makes you commit to the wobbly line and move on, which builds your drawing skills faster than rubbing things out.
Nice-to-have extras include pens in different colours, washi tape to create doodle frames, and a ruler if you like neat edges. For example, a cheap set of coloured fineliners is enough for a whole month of fun. You can doodle on meeting agendas, post-its or the back of an envelope, so fancy gear is never a barrier.
Warm Up: From Simple Lines To Confident Strokes
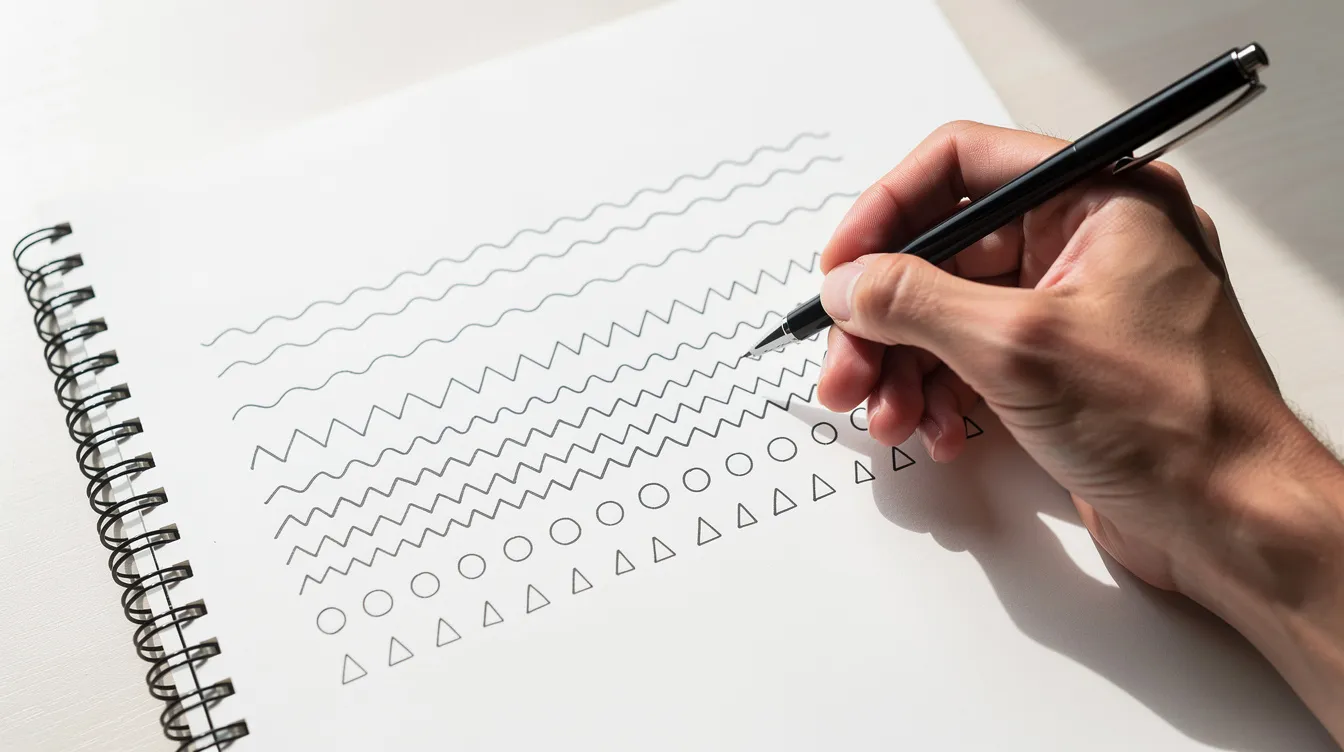
Before you draw anything recognisable, spend five minutes covering half a page with lines. Practise drawing lines and basic shapes, and do not worry about neatness. Warming up like this is the quickest creative reset I know.
-
Straight lines: rows of vertical, horizontal and diagonal lines. No ruler. A freehand line drawn this way will never be perfectly straight, and that is fine.
-
Wavy, zigzag, dotted and broken lines: draw one row of each. Mix them to create tiny patterns like brick walls, raindrops and checkerboards.
-
Rows of shapes: circles, squares, triangles, ovals, teardrops. Draw some big, some tiny, some squashed.
Varying line thickness makes doodles look livelier, so press harder on downstrokes and lighter on upstrokes, or switch between pens to create contrast. Abstract doodling, the free-flowing kind, starts right here in these warm-up rows. A circle that does not quite close is not a mistake. It looks handmade, which is exactly the point.
See Like a Doodler: Turning Objects Into Simple Shapes
Here is the secret trick I use at the lab bench. Almost anything reduces to circles, rectangles, triangles and a few curves that form its outline. Doodles are built from simple shapes, and once you see that, objects stop being intimidating. Here is my five-shape list and what each can stand for:
|
Shape |
Examples |
|---|---|
|
Circle |
Suns, faces, apples, bubbles |
|
Rectangle |
Books, windows, phones, cups |
|
Triangle |
Waffle cones, mountains, trees |
|
Line |
Stems, rain, whiskers, borders |
|
Dot |
Eyes, seeds, texture, stars |
Three quick walkthroughs:
-
A mug. Draw a tall rectangle for the body. Draw an oval across the top for the opening. Stick a “C” shape on one side for the handle. Done.
-
A cactus. Draw a tall rounded body, two smaller arms branching off, and tiny straight lines for spines.
-
A lightbulb. An upside-down teardrop for the bulb, sitting on a small base with a few parallel lines. You can even doodle a lightbulb with a heart inside for fun.
Draw the biggest shape first so the proportions come free, then add details: faces, patterns, simple shading. I usually go straight to the pen, though a light sketch can help if you want a guide. Even complex doodle art is just lines stacked and repeated.
Try a two-minute daily habit: pick one object on your desk, a stapler for example, stand it where you can see it clearly, and break it into shapes in your head before you draw it. It trains the eye faster than any tutorial.
Easy Doodles How to Draw Them, Step by Step
Below are four short walkthroughs. Each follows my five-step method:
-
Pick one small, familiar object.
-
Name its shapes out loud.
-
Draw the first shape, the biggest one.
-
Add two or three details.
-
Add one small flourish (a shadow line, tiny star or sparkle) that makes it look done.
Tiny details make doodles more interesting, so do not skip step five. You can stop at any stage and still have a simple doodle that works in a journal, and you can always add details later. Doodles can include flowers, stars and food, so let your ideas run.
How to Draw Ice Cream, Step by Step
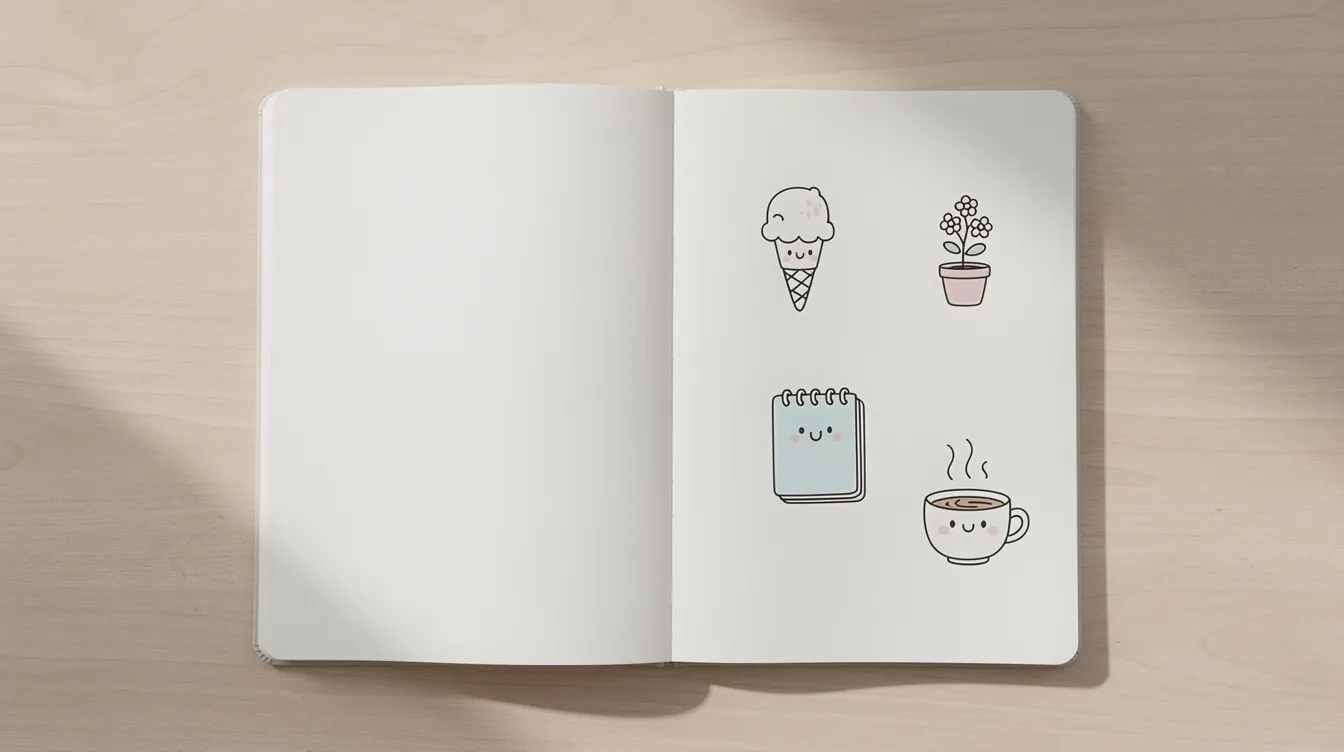
Start with a triangle for the cone. Draw a circle or a puffy cloud shape on top for the scoop. Draw diagonal lines across the triangle to create a waffle pattern, then draw short dashes for sprinkles. Give the scoop a face: two dots for eyes and a small curve for a smile. That is how you draw ice cream in under three minutes.
Variations keep it fun. Try a double scoop, melted drips down the side, or a bitten edge. A cone like this makes a cute summer header in a bullet journal or a tiny margin doodle on a sticky note.
How to Draw a Simple Potted Plant
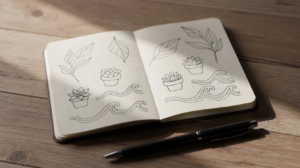
Draw a trapezoid for the pot. Add a few vertical or slightly curved lines rising from the top for stems. Draw oval or teardrop leaves along each stem, keeping proportions loose and forgiving. Draw simple flowers at the tips of some stems, and let a few leaves overlap so the plant looks full.
Fill the pot with stripes, dashes or a checkerboard to practise texture. This little plant works as a divider or corner decoration in any layout.
How to Draw a Cute Notebook Character
Draw a rounded rectangle for the notebook body, then a slim strip along one side for the spine or spiral. Draw big round eyes (two circles with dots inside), a tiny curved mouth and short stick arms and legs. Cartoons like this build character drawing skills, even at the simplest level.
Give it moods: a sleepy notebook with droopy eyes, an excited one with wide circles, or a frustrated “Monday” notebook with slanted eyebrows. A character doodle makes even a dull to-do list friendlier, and a sleepy one is an awesome mascot for Mondays.
How to Draw a Simple Coffee or Tea Cup
Begin with an oval for the rim. Draw a curved line beneath it for the inner depth, then connect the two with short vertical lines to form the body of the cup. Draw a “C” shape on one side for the handle and three wavy lines above for steam.
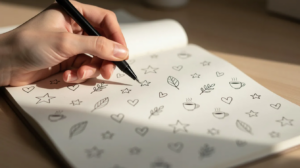
Personalise it with tiny hearts or stars. This doodle suits morning notes, meeting margins or a habit tracker for water and hot drinks.
Add Personality: From Plain Shapes to Cute Doodles
The difference between a shape and a character is usually two dots and a curve. Humans have a quirk called pareidolia, the tendency to spot faces in almost anything, which is why a circle with a pair of eyes and a line underneath instantly reads as a face. I have drawn faces on conical flasks, beakers and one memorable bottle of distilled water in the lab, and none of them needed any drawing skill.
To turn basic shapes into cute doodles, try:
-
Draw blush circles (two small pink or red circles on cheeks)
-
Eyebrow slants to show mood
-
Draw props like scarves, hats or speech bubbles
-
Varying proportions: a big head on a tiny body makes anything adorable
Create doodles of cute animals to improve your drawing: a cat is a circle head, triangle ears, dot eyes and whisker lines, and you can add details like a bow or a tiny bell. If a line goes wrong, give it a face and call it a creature. Take one basic doodle, like a cloud, and draw it three times with different expressions to see how mood changes with a few lines.
Using Doodles in a Bullet Journal or Notebook
I use doodles in my own bullet journal to rescue messy pages and brighten layouts that felt too plain. Doodling keeps bullet journaling fun when my handwriting looks like a spider has walked across it, because the eye goes to the little doodles instead of the wobbly letters. For more ideas, see my guide to doodles for a bullet journal.
Concrete spots for doodle art:
-
Monthly and weekly headers with tiny themed icons (suns for summer, leaves for autumn).
-
Habit trackers decorated with plants, stars or weather symbols.
-
Cute borders made of repeating leaves, flowers or cups.
-
Lettering, a type of doodling that uses decorative text styles, for titles and headers, with hand letters in bubble or brush styles.
-
A Doodle Alphabet, where you draw a little icon beside each of the 26 letters, makes a fun spread and doubles as practice.
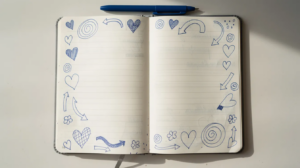
Zentangle patterns, which use repetitive designs for calm and creativity within defined spaces, are lovely in empty corners. Even very easy doodles like dashes and tiny hearts change how a page feels. I keep a small notebook with a pen clipped to it in my lab coat pocket for slow moments, and it has filled up faster than any sketchbook I have owned. If you want more ideas for your own pages, see a list of bullet journal doodles.
From First Sketch to Finished Doodle
Here are the stages I follow at The Doodle Jar: pencil sketch (if I am feeling cautious), pen outline, erase the pencil marks, then colour or shading. Start with light shapes and outline only the lines you like. Let the pen lines dry before erasing, and embrace any faint ghosts of the sketch as part of the handmade look.
Finishing touches I come back to:
-
A shadow line under objects with a soft grey pen to create depth.
-
One accent colour across all the doodles in a spread for cohesion.
-
White highlights on eyes or shiny surfaces with a white gel pen.
A doodle does not need to be perfect or fully coloured. Stopping early is allowed and often more charming. If it feels done to you, it is done.
Practice Routines and Doodle Prompts
Practising doodles daily builds skill and creativity, but “daily” does not mean an hour. The habit that worked for me: one prompt a day on a three-minute timer, with the same object drawn a few days running and one detail changed each time. After a week of drawing mugs, mine went from lopsided boxes to having proper handles.
Prompts grouped by theme for when you hit an art block:
-
Food: ice cream, a slice of cake, a cup of tea, a fruit bowl.
-
Nature: leaves, flowers, a cloud, the moon.
-
Desk life: pen, laptop, mug, paperclip, notebook.
-
Quick ideas: doodle a simple butterfly for practice, try doodling a hot air balloon floating in the sky, or draw a simple crown as a quick doodle idea.
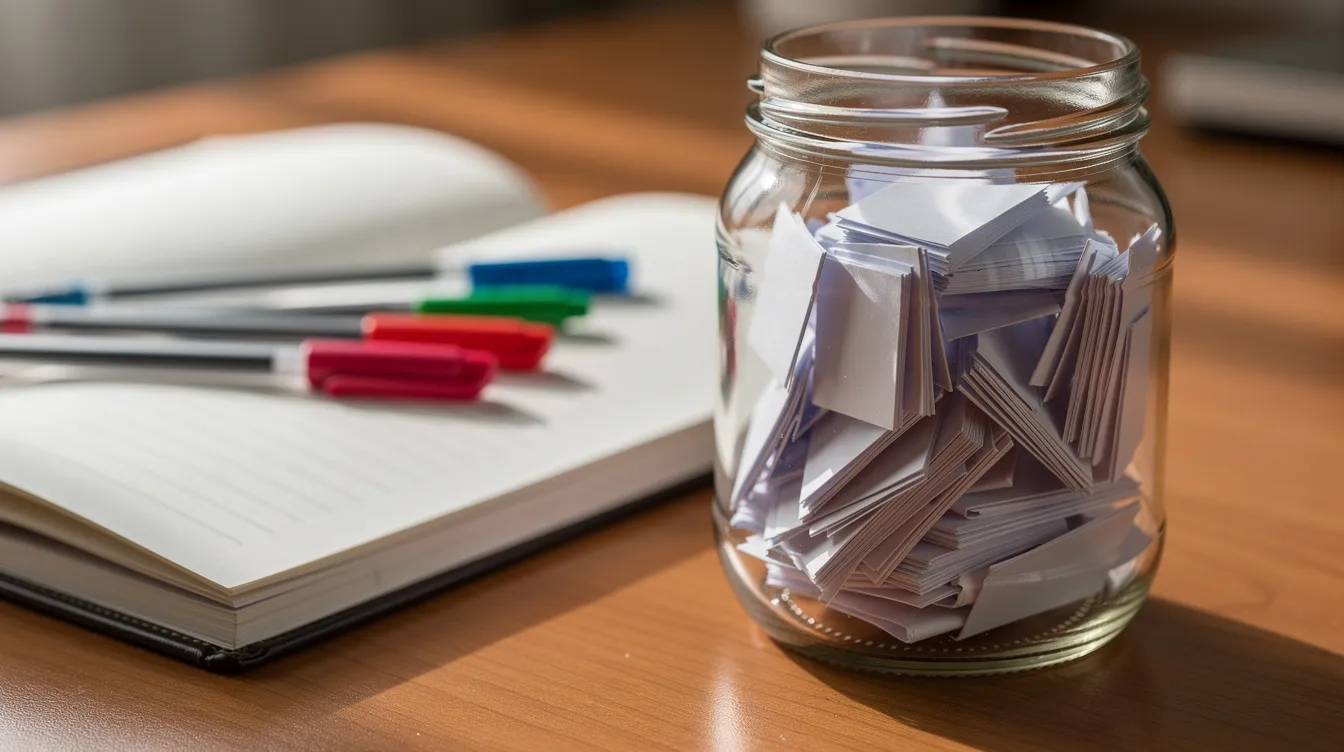
I created a literal prompt jar from my old pickle jar and filled it with folded slips, each naming a single object (“umbrella,” “sock,” “snail”). Prompts remove the decision, hand you ideas on days you have none, and are a cheap cure for a creative rut. Treat online drawing tutorials or reference photos as starting points for inspiration, not tests. I post one little doodle a week on the fridge, and the best ones get a mention in a later blog post. For more ways to start when the page is blank, see ideas for doodling random things.
Simple Ideas to Fill a Whole Page
A full spread is less about big art and more about repeating very easy doodles in playful ways:
-
A whole spread of one object: 30 tiny cacti, each slightly different in size or expression.
-
A border of repeating icons like stars, flowers or leaves around a written entry.
-
A grid of mini boxes, each holding one little doodle.
Patterned spaces add interest. Stripes, scallops, checkerboards and vines all count as doodles and are wonderful when you are tired or bored. Zentangle uses structured patterns within defined spaces, and even a single square of repetitive lines can look striking. For more inspiration, browse any pattern book at the library.
One evening after a stressful day I sat down with my notebook and, instead of writing, drew wave after wave of cloud shapes across a double spread, then added rain lines and tiny puddles. It became one of my favourite spreads, and it took no skill at all, just repetition and a willingness to keep my hand moving.
Common Doodling Wobbles (And How I Handle Them)
Some days every line feels wrong. On those days I close the notebook and come back tomorrow, because a bad day on paper is far less dramatic after a night’s sleep. You do not need to be an expert to start doodling, and you do not need every spread to be a winner.
Common struggles and what I do:
-
“My doodles look childish.” That is normal and often exactly the charm of doodle art. Simple, uneven, cute. That is the style, not a flaw.
-
“I never know what to draw.” Pull a slip from your prompt jar, or look around and draw three objects from your surroundings in different styles.
-
“My spreads look messy.” Group doodles in clusters, stick to one colour, or add simple frames to contain the chaos.
I have a hard time leaving mistakes alone, so I taught myself to transform them. A crooked circle becomes a pumpkin. A smudge becomes a cloud. A pattern around a flaw pulls the eye to the other side. I once tried to draw a snail, and it came out as a grumpy mushroom. I left it in, and it became a favourite. On another day I knocked over my pen and left a streak across a whole spread. I turned the streak into a horizon line, added clouds and rain, and that “ruined” bullet journal spread became the most calming image in the book.
Every awkward doodle is a tiny warm-up, not a failure. I hope that takes some of the worry away.
Next Steps on Your Doodle Journey
Here is the path we covered: warm up with simple lines, break objects into shapes, follow the walkthroughs for cute doodles, and finish with small touches that make a layout feel complete. None of it needs perfect lines, formal techniques or expensive tools. It just needs a pen and a willingness to make marks.
Pick one small action right now. Draw a cone with a scoop, a cup and a plant using the steps above. Start a dedicated doodle notebook or add a doodle corner to your bullet journal from today’s date onward. Thanks for reading this blog, and I hope you have a wonderful day making something that makes you smile. Keep your pen moving, have fun with the imperfect lines, and see where your doodle art leads next. I love drawing these little things, and I hope you will too.
FAQ
Do I need talent to follow guides on doodles how to draw? No. Doodling relies on simple shapes and repetition. If you can draw a circle and a line, you can begin. Talent is not the point. Practice and play are.
What should I doodle first? A simple everyday object like a mug, leaf or cat, broken into basic shapes. Pick something on your desk right now and draw it. Plenty of ideas are in the prompt list above.
Should I use pencil or pen? Pen, because it stops you rubbing things out and keeps you moving forward. A cheap fineliner or ballpoint is plenty to create anything in this post.
How long should a doodle take? Two to five minutes. Set a short timer to keep things light. If you want to keep going after it rings, that is a lovely day of doodling, not a problem.
What if my doodles still look bad? Draw the same object a few times, changing one detail each round. Wobbly lines are part of the style, and most doodles improve within a week or two of small, regular practice in your sketchbook or notebook.